Skip to content

Simple Product Photography on White for Better Marketing

January 5, 2021
Simple product photography can be very effective as a marketing tool. But, only if you follow our handy check list.

Simple Product Photography on White

Getting simple product photography on white often seems like it should be the simplest thing. However, as one of my oldest clients once said to me, “Simple ain’t never simple, is it?”

There are a metric ton of blog posts about product photography out there, with all kinds of great advice. And, they all seem to miss some pretty important points.

We’ll try to cover those points in a simple check list below.

Btw, this post is more for the manufacturers and retailers than a step by step technical lesson for photographers. There are plenty of those blog posts out there.

However, the conceptual information may be of value to the product shooters, as well as the marketers.

What is wrong with my simple product photography on white?

The most basic issue that we have come across over and over is forgetting that even a simple product photo is still a photo that tells a story.

Your product has a purpose to exist. It has a discerning audience that can feel the difference between authentic and fake. And, your product photography will either tell that story. Or, it won’t.

Bland Doesn’t Cut It

The first, and perhaps most important step in simple product photography, is the core concept of the image.

Yes, it is a photo of a product. But, shouldn’t it be more of a portrait of the product?

Think about how you want that product to look. The product is the hero of the piece and should look heroic.

What is the best angle for your product? What features do you want highlighted?

Light it like you mean it

No, the average manufacturer or marketer doesn’t need to study lighting (that is actually part of my job description). But, being aware of what you want to highlight and how dramatic you want your product to look can help your photographer understand what techniques they will need to use.

Instead of throwing it in one of those light cube thingies (which can make almost anything look flat and boring), how about lighting it more like a model or actor?

Should the white surface that it is on be flat and nonreflective or glossy and show a mirror image?

Should there be a shadow under it? (Hint: I hate “floating” products, especially if they are meant to be sitting on something. Of course, there are exceptions.)

How Does The Product Really Look?

One of the things that comes up regularly is that we are asked to photograph prototypes or testing models. Some of these are less than perfect or show signs of use.

This is fine and is what photoshop is made for.

However, if your packaging is brand new, never been touched (heck never even been put together), this will allow your photographer to, carefully, build the perfect box.

If the product is brand new, there are no scuff marks or fingerprints to retouch. (Quick note: there are always some blemishes to be removed in post. Always.)

If the prototype doesn’t have any guts in it and can’t actually be turned on, that is fine too. We would plan to photograph the shell and then add these other elements in post.

That gives us lots of flexibility when it comes to set up and lighting and avoids some of the various hoops (retouch out the electrical cord?) that can add challenges.

If the box is scratched or a corner dinged, it isn’t the end of the world. But, to get the “hero” product photo, prepare to find that retouching in the final invoice.

The Preshoot Check List

Before heading to the studio, here’s what we recommend to our clients:

  1. Look over the product carefully for how clean it is. If it is a big product, clean it the day before the shoot.
  2. While looking it over, think about the best angle/point of view for where the photo will “live” in your marketing. Share that with your photographer.
  3. If there is a photo you have seen that you like, put together a mood board and share it. Your inspirations should become reference to your photography team.
  4. Make a shot list to help you keep on track and use your time wisely during the shoot.
  5. Do you have a backup product? During some photoshoots, your hero may become dinged or otherwise marred. Or it may be perishable. It would be good to have a fresh product to swope in.
  6. Styling makes a difference. A lot of product photography requires some form of styling, either by the client or the photography team. If your product has hoses, wires, fabric or wrinkled material, a great professional stylist can save tons of time fiddling on set.
  7. Be prepared to watch “the paint dry”. Product photography, like most marketing photography requires making choices on set about everything that will appear in the final image. All of this takes time.

Simple is Never Simple.

But, making the right choices before the photo shoot can result in simple, clean and effective product photography that makes your product shine!

Got questions? We can help!

Click below to send us a message about your next product shoot and we can walk you through our tried and true methods to get excellent results.

For when you can't shoot on location, there is always product photography illustration to save the day! Here's a little photo illustration story.

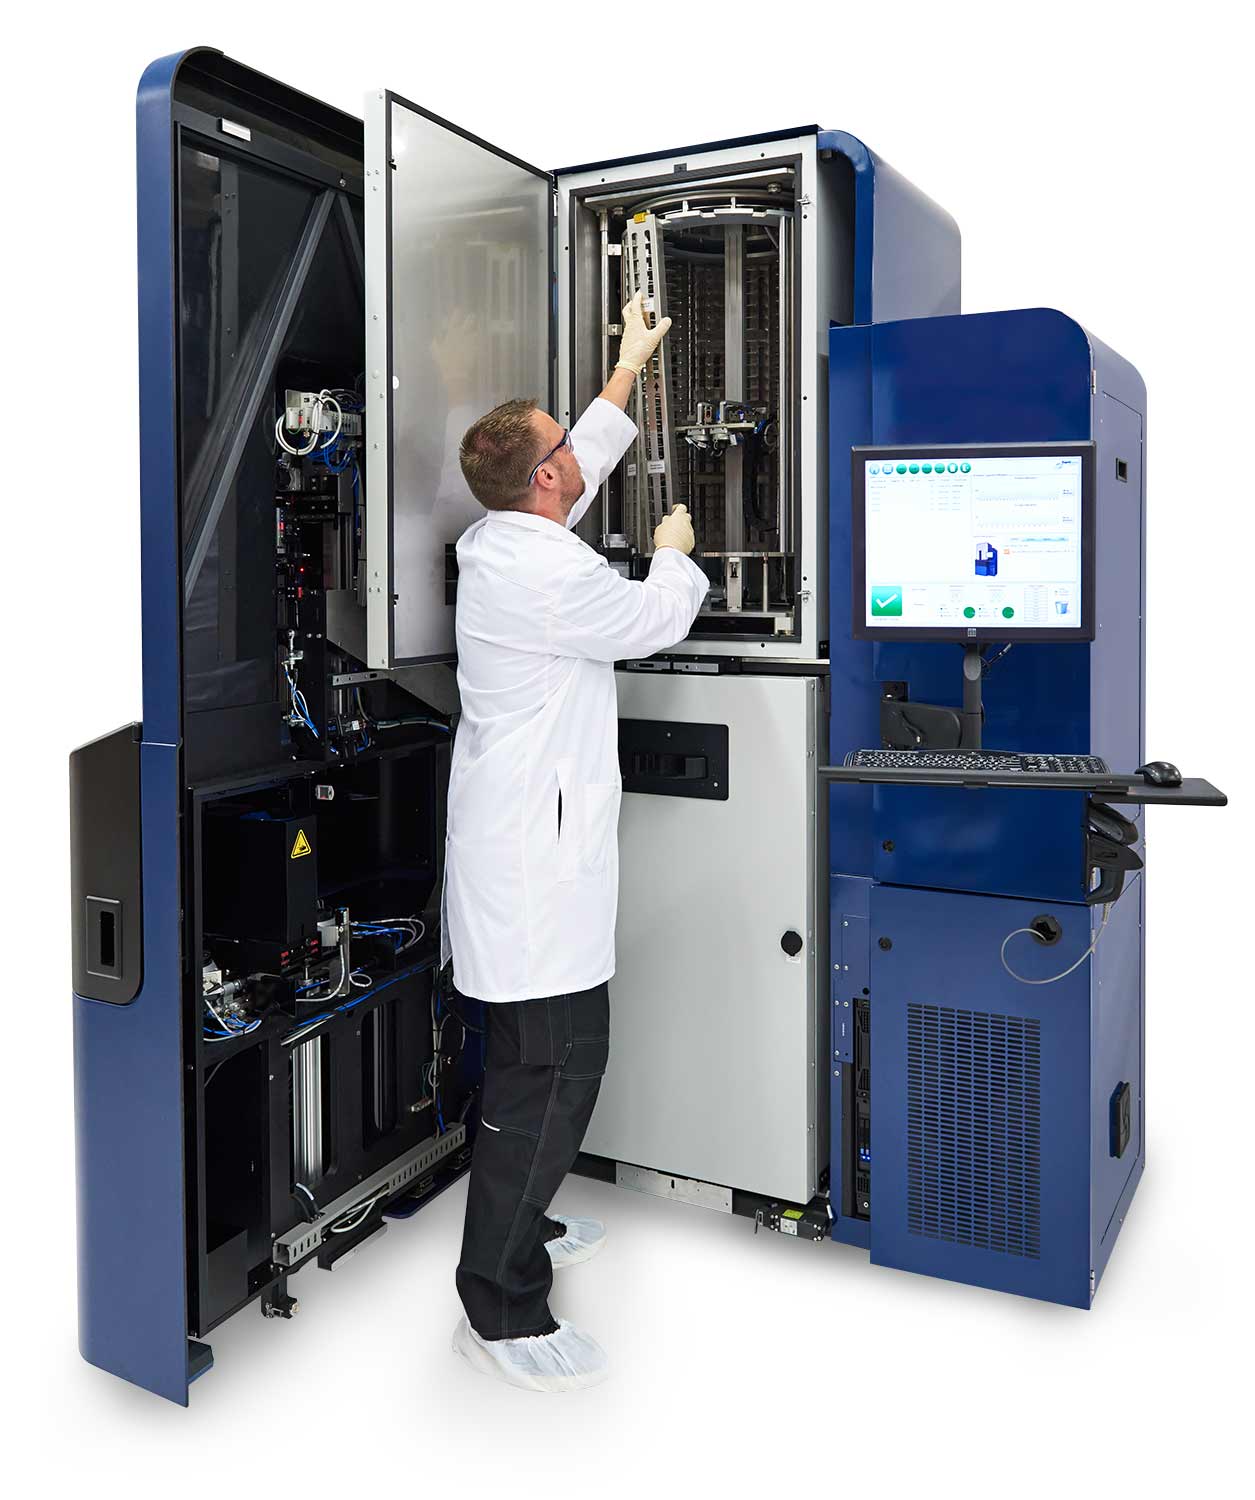
Yes, we are still doing industrial product photography. We are just doing it remotely, which, actually, isn't new and isn't that hard!

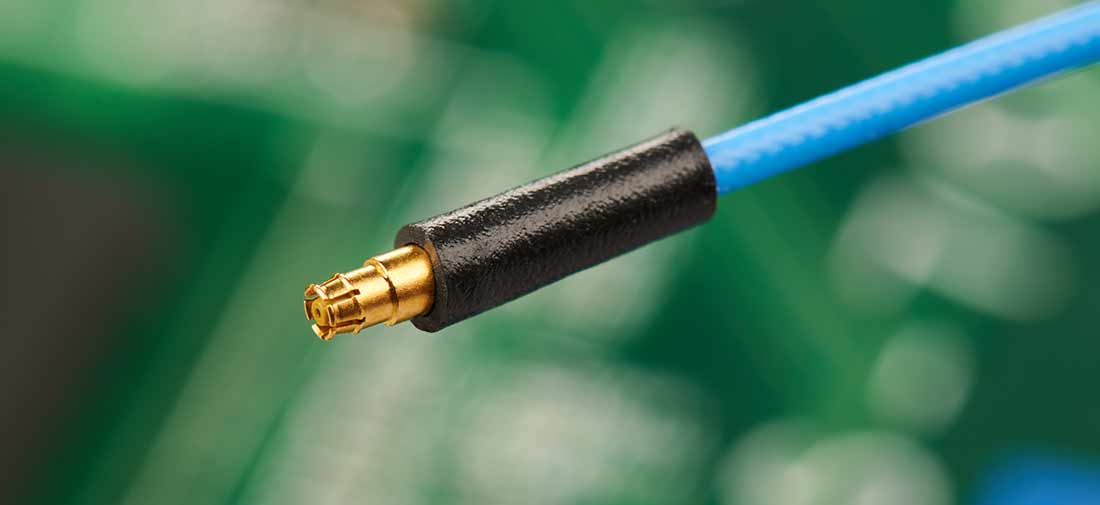
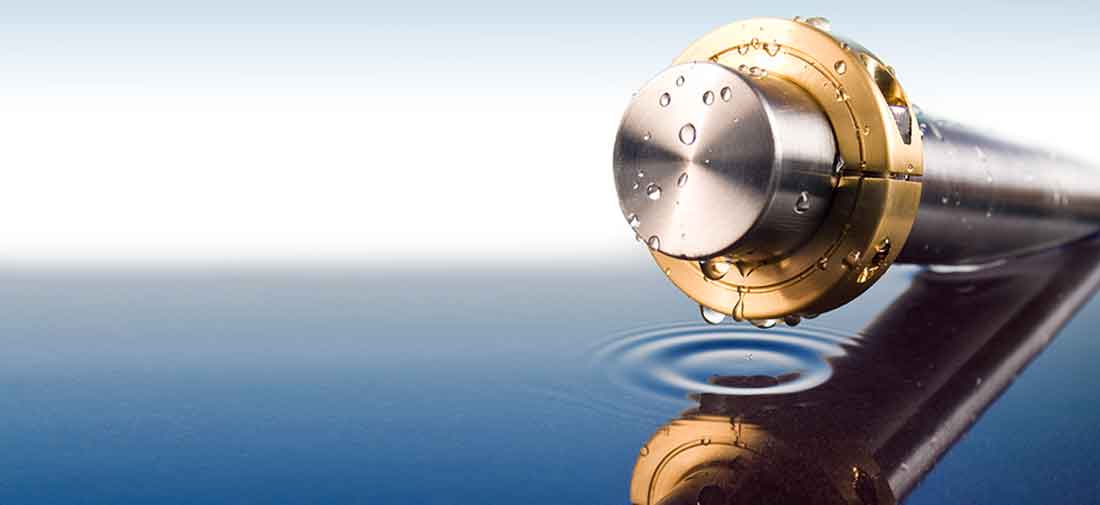
So you have a tiny product in need of photography? Yes, we can do that! Here's what we did for East Coast Microwave and their new Nano RF Coaxial Assembly!

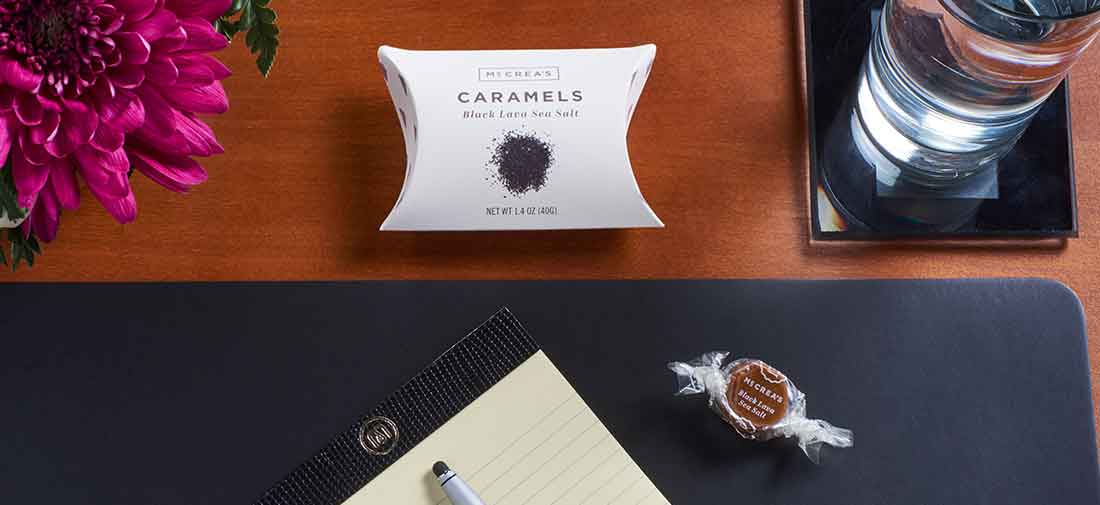
Here's some simple tips during our Caramel Product Photography session to make your marketing photo experience better!