Today’s chip technology, 3d printing and micro injection molding has created products for electronics and medical devices that are extremely small and packed with amazing capabilities.
Using state-of-the-art macro and micro product photography, we can create high impact photographs that help to illustrate these products for a wide variety of marketing tools, such as web sites, tradeshow posters and sell sheets.
Is your new product too small to photograph?
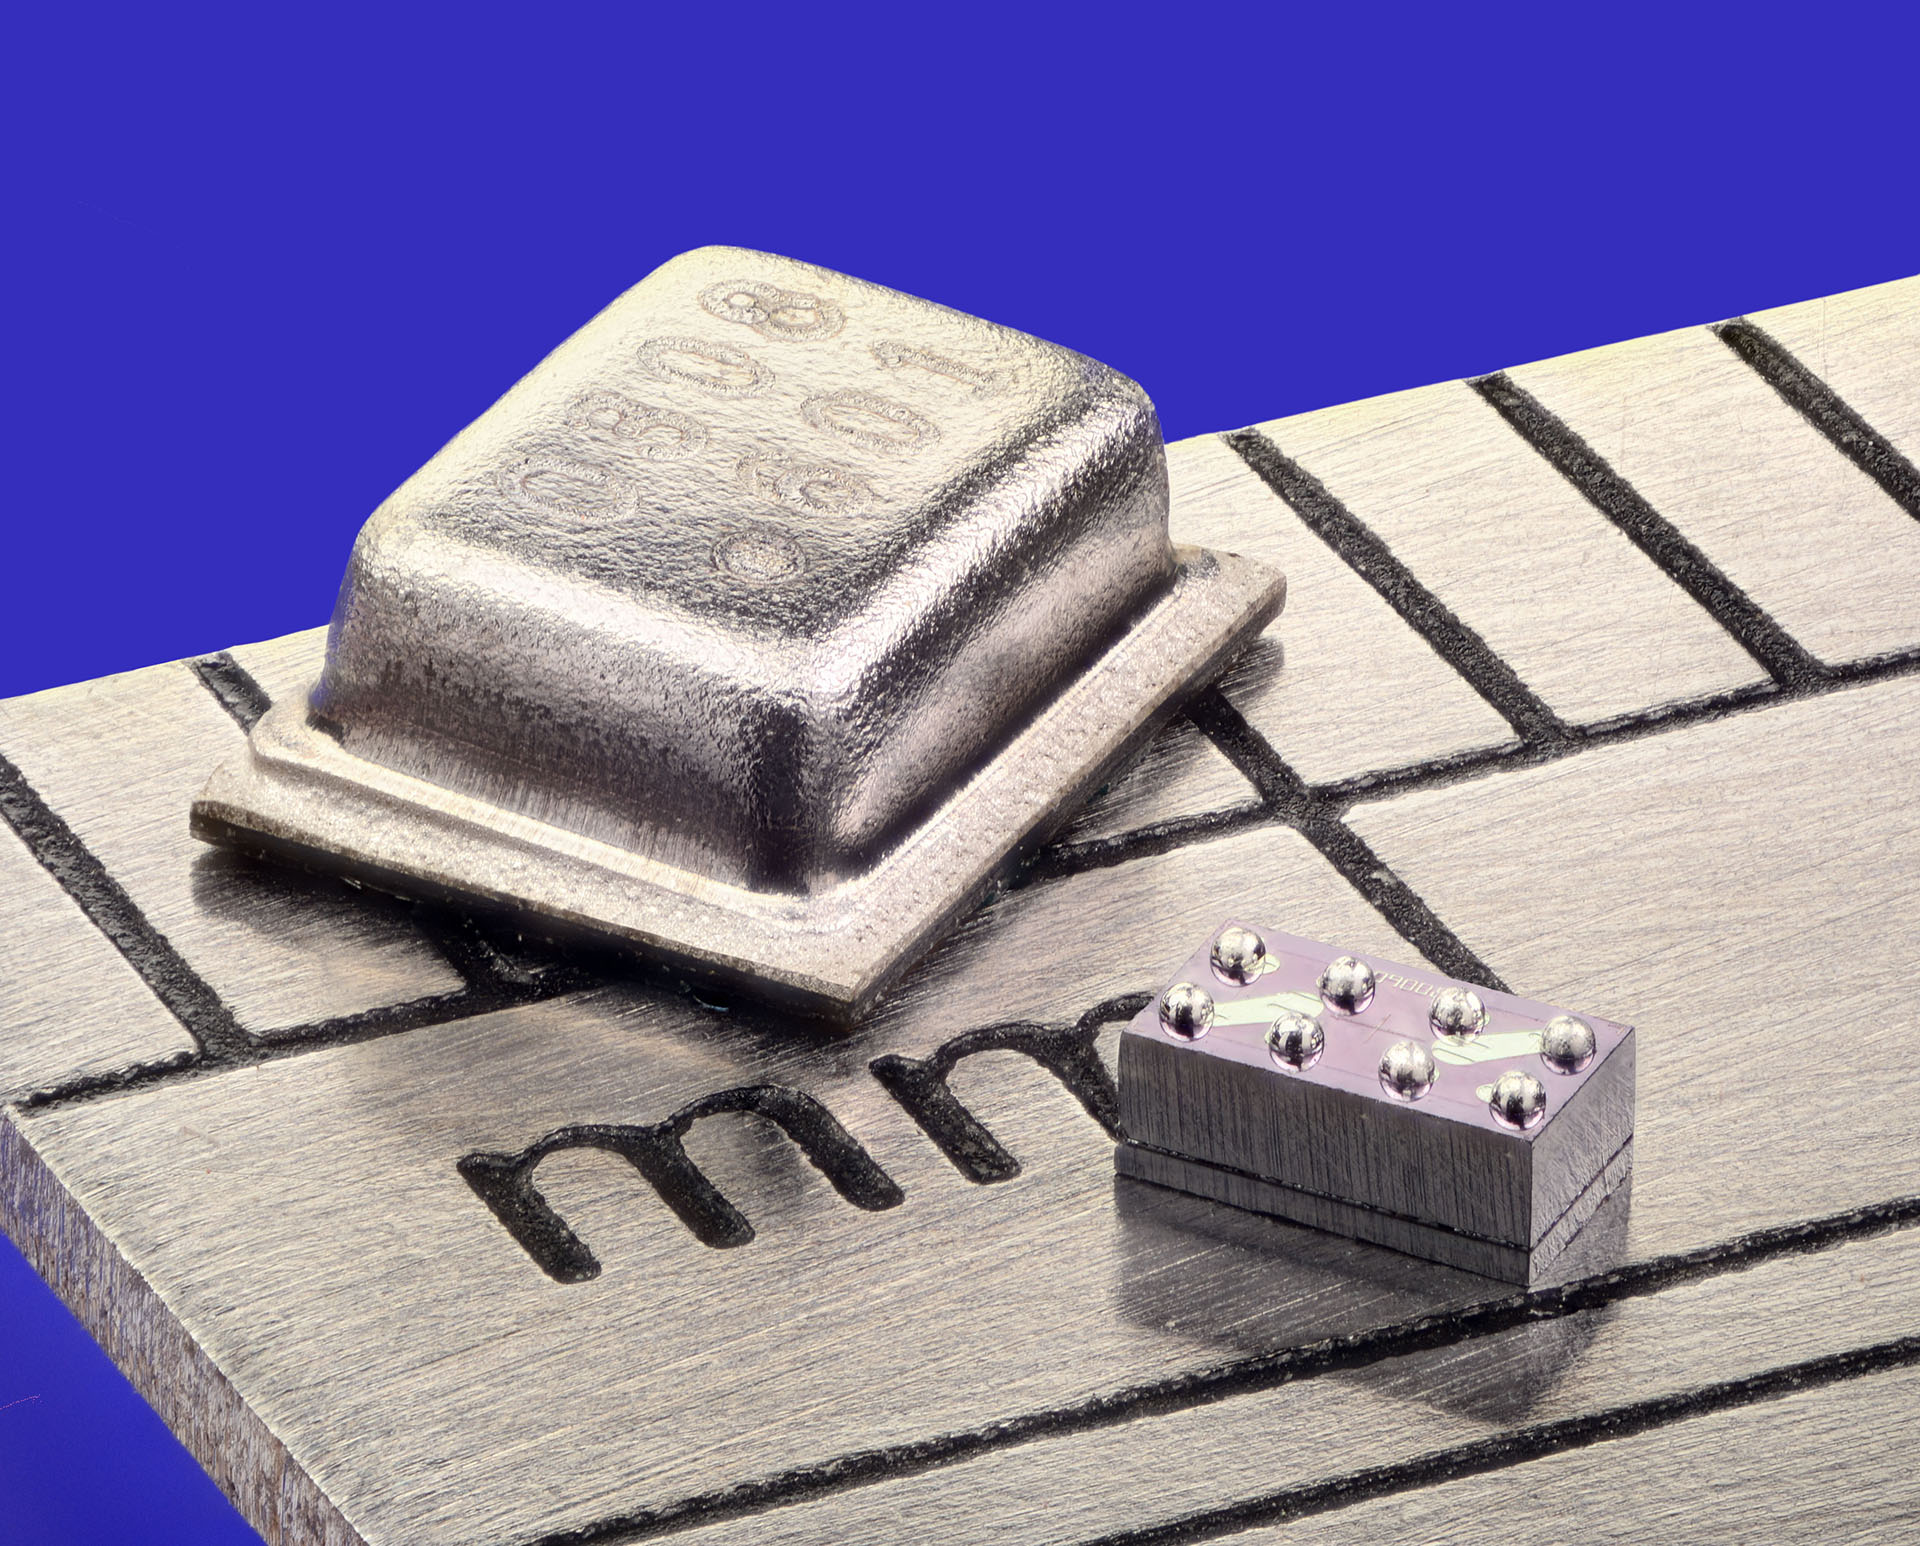
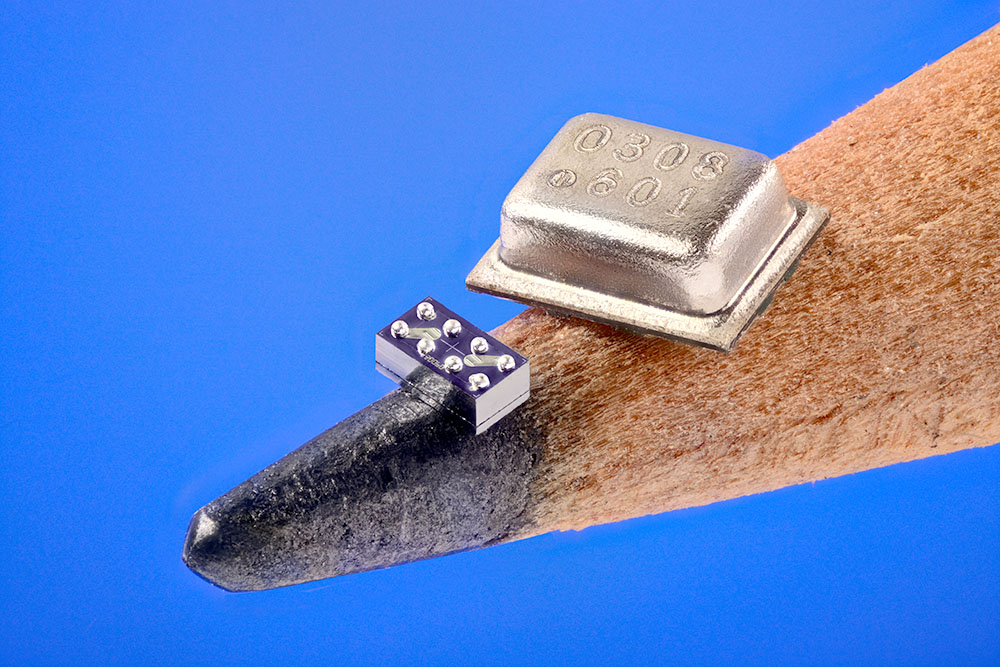
We recently completed a project for a tech startup company whose product is a microchip that is one millimeter wide by a millimeter tall by a millimeter and a half long.
That should qualify as micro product photography!
These images were created using a 4x microscope objective on a specialized motorized camera rig.
How to do Micro Product Photography?
The most important secret to effective Micro Product Photography is to start with an idea of what you want to say.
(There are tons of how-to sites and guides for the tools and software to make an image of an item at this scale, so I won’t go into too many details here. But, rest assured, I’ve done my homework, so my clients can rest easy and do their work.)
Conceptually driven photographs will, invariably, be more successful than a straight up, square to the camera, mug shot of the product. So, when designing your product photography, think about other objects for scale, think about color schemes. Think about the things that some engineering friends of mine might call frou-frou frills that don’t “add anything and might distract from the chip.”
These are the very things that could make the image more dynamic and interesting, while highlighting how cool the product actually is.
The Challenge of Micro Product Photography
The second biggest challenge is time. During a shoot of a normal sized item, you can pop a couple of frames and quickly preview how the angle looks, the background looks and the lighting.
For Micro Product Photography, one final image may be made up of 100 individual frames, sliced and composited together to get the end image. The picture with the raspberry took 91 frames. The ruler had over 210!
Which means that each image may take a half a day and a bunch of computer horsepower to get a sharp photograph. And, it may take another couple of hours to retouch that photo to get the final product.
Which is all the more reason that we need to develop a solid concept before we start shooting!
Is Micro Product Photography hard?
As compared to “regular” product photography, it certainly has more moving parts.
It does require some special techniques and tools, which take time to master.
But, the outcome is worth the wait when your product outshines the competitions’ press photos!


